Just because you have diabetes doesn’t mean you can’t enjoy a sweet treat! I guarantee that some of my all-time favorite diabetes sweets are better than any “normal” dessert you’ve ever tasted!
What to Look for in Diabetes-Friendly Desserts
In comparison to typical sweets, diabetic desserts should ideally include one or more of the following:
- Increased protein
- More fiber
- More plant-based fats
- Less sugar
There is an infinite number of diabetic sweets that individuals with diabetes may enjoy. Therefore we’ve divided them into categories below! Everything from delicious handmade dishes to simple store-bought snacks!
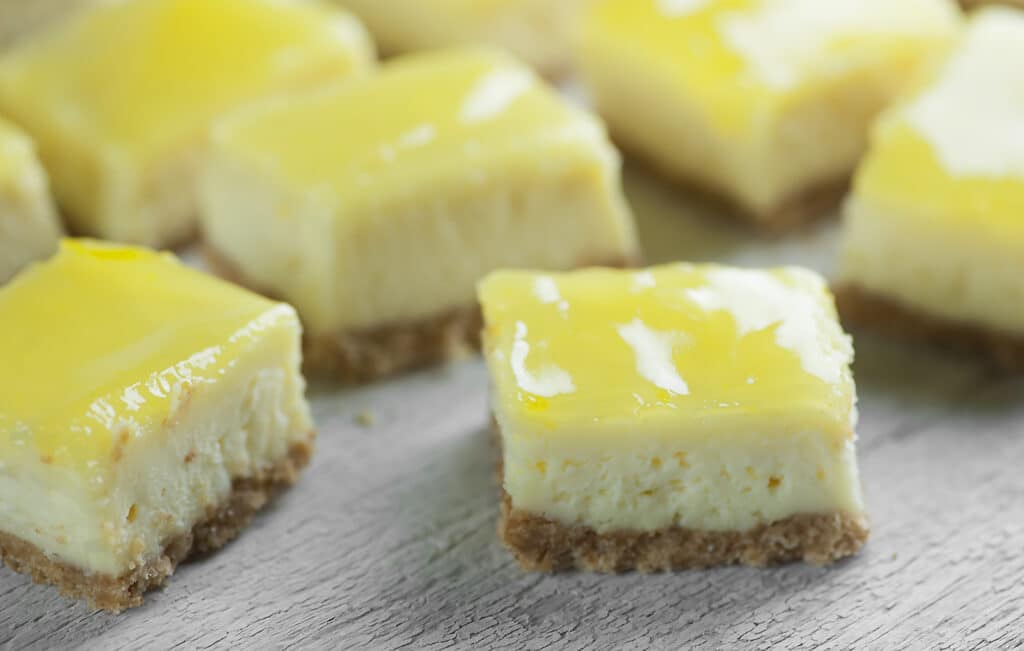
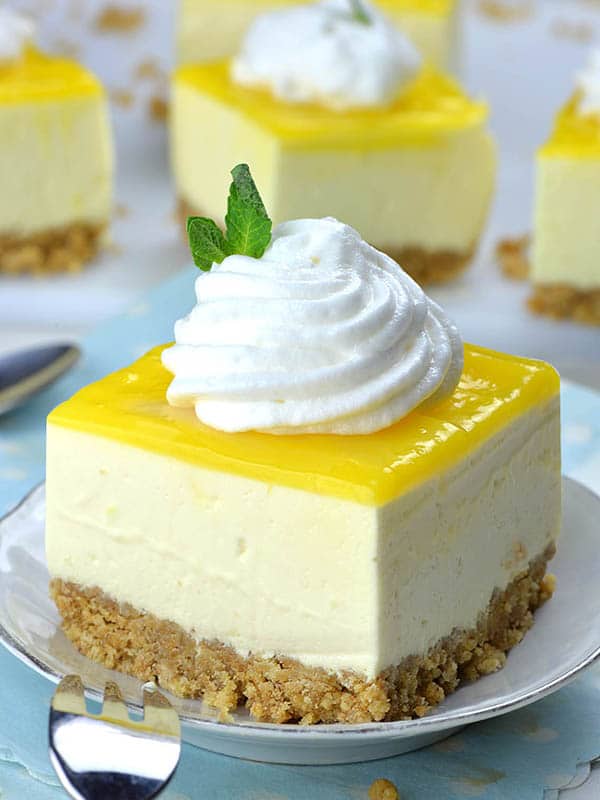
Lemon Cheesecake Bites (No-Bake)
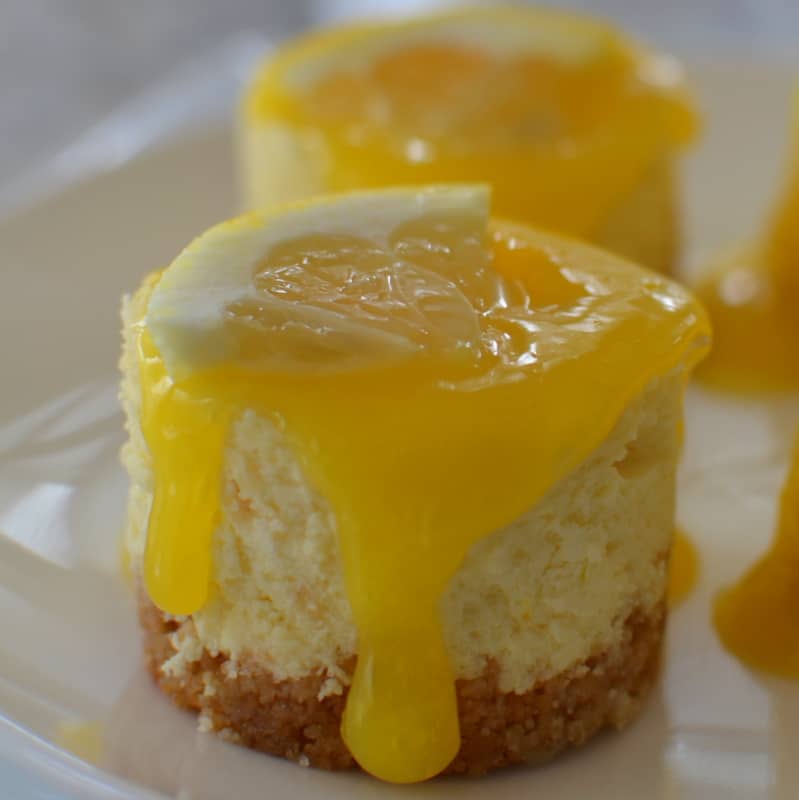
These no-bake lemon cheesecake bites are tasty and high in protein and fiber!
Most no-bake cheesecake bites need you to prepare a crust, then a filling, and finally shape everything together, but not my no-bake lemon cheesecake bites! These little cheesecake bites are simple to make and ready in no time!
If you’ve ever wanted to amaze loved ones with an incredibly delicious snack or dessert recipe, this no-bake cheesecake recipe is just what you’re looking for. It has only 7 components and is high in nutrients. With 2g of protein and 2g of fiber (and only 2g of sugar) in each mouthful, you’ll feel full and pleased, and your blood sugars and energy levels will be happy!
The Recipe
First, combine your coconut flour and oats in a large food processor (or blender) and pulse until a fine powder is produced (about 30-45 seconds).
In a food processor, combine the remaining ingredients (cream cheese, maple syrup, vanilla extract, almond extract, and lemon zest) and process until smooth.
Scoop the batter into a parchment-lined sheet or container using a tiny cookie scoop. If preferred, top the bits with extra lemon zest and crushed coconut.
Allow the tiny cheesecake bites to chill in the refrigerator for 2-4 hours. And have fun!
Refrigerate your No-Bake Lemon Cheesecake Bites in a covered container for up to 2 weeks. Alternatively, freeze for up to 3 months.
Option in contrast
If you want to experiment with different flavors, try adding some frozen blueberries (adding extra coconut flour to absorb the excess liquid), cinnamon, or even cocoa powder or chocolate chips!
Prep Time: 15 minutes
Chill time: 2 hours
Course: Dessert, Snack
Cuisine: American
Diet: Diabetic, Gluten-Free
Keywords: cheesecake, no-bake
Servings: 18 bites
Carbohydrates: 6g
Equipment
Food processor
Ingredients
- ½ cup coconut flour
- ½ cup rolled oats use gluten-free if needed
- 8 oz. plain cream cheese
- 2 Tbsp maple syrup
- ½ tsp vanilla extract
- ½ tsp almond extract
- Zest of 1/2 of a lemon
- Shredded coconut and extra lemon zest for rolling
Instructions
- In a large food processor, combine the coconut flour and oats and pulse until a fine powder is produced (about 30-45 seconds).
- In a food processor, combine the remaining ingredients (cream cheese, maple syrup, vanilla extract, almond extract, and lemon zest) and process until smooth.
- Scoop the batter into a parchment-lined sheet or container using a tiny cookie scoop. If preferred, top the bits with extra lemon zest and crushed coconut.
- Allow the bites to chill in the refrigerator for 2 hours. And have fun!
- Refrigerate your No-Bake Lemon Cheesecake Bites in a covered container for up to 2 weeks. Alternatively, freeze for up to 3 months.
- You’ll need a food processor or a high-powered blender to prepare these simple lemon cheesecake bites.
Note
Please keep in mind that the dietary data given here are mere approximations. The nutritional information provided might be influenced by the brands you use and the product categories you select. You should compute the nutritional information using the same components to get the most accurate nutritional information.
Nutrition
1 bite | 70kcal | 6g carbohydrate | 2g protein | 5g fat | 3g saturated fat | 52mg sodium | 2g fiber | 2g sugar
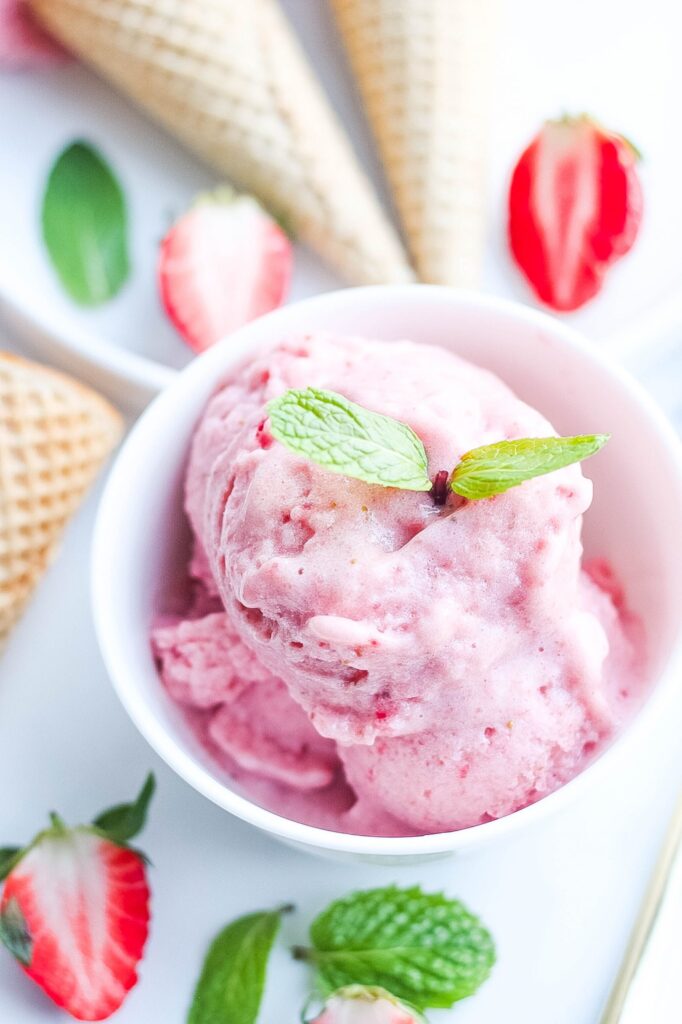
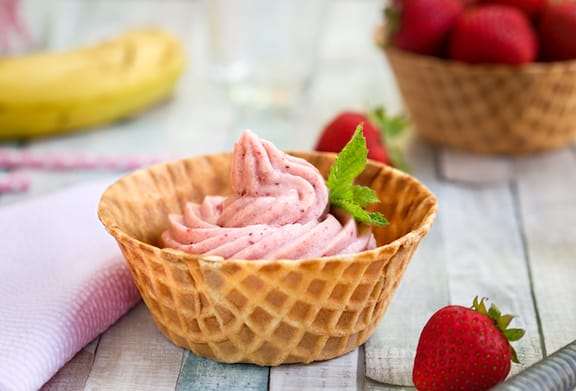
Strawberry Nice Cream
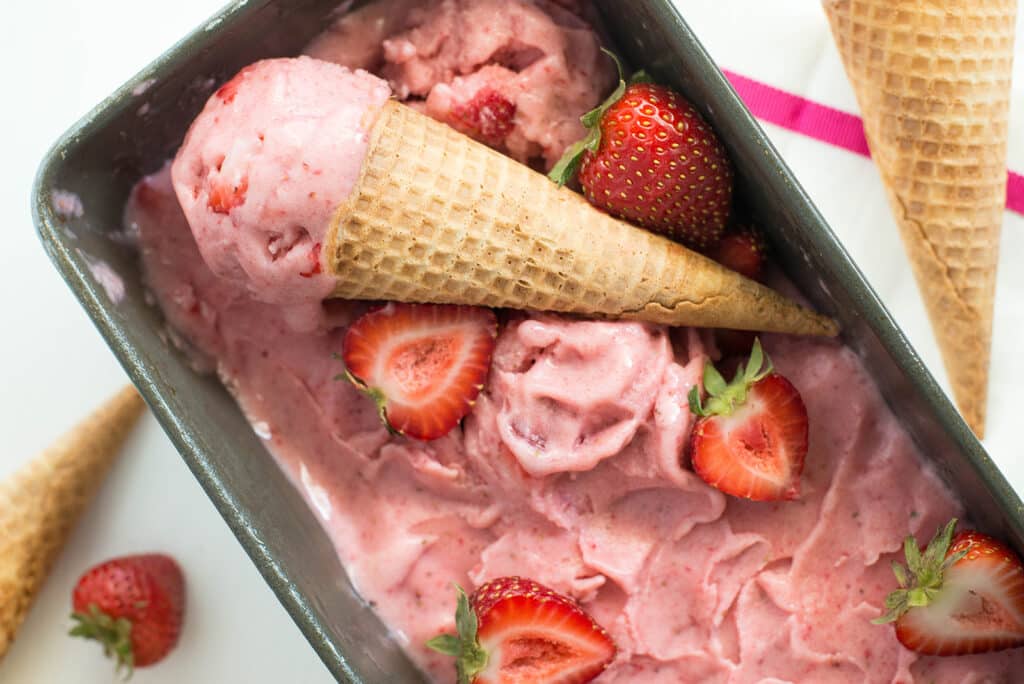
This Strawberry Nice Cream is everything you’ve been looking for and more! You never knew good for you strawberry “ice cream” could taste so delicious! Creamy, calm, pleasant, and satiating, you never knew good for you strawberry “ice cream” could taste so excellent! It’s a treat you can feel good about serving everyone in your family because it’s made from nutritious, natural ingredients with no added sugar!
Ingredients
Nice Strawberry Cream
1 cup fresh strawberries, frozen
1 cup cottage cheese (low fat)
1 cup Greek yogurt (low fat)
1 tablespoon vanilla extract
Cones of Cake
6 cake cones each
3 tablespoons white chocolate chips optional
2 tablespoons sprinkle
3 chopped fresh strawberries
Directions
- To create the Strawberry Nice Cream, first, combine all of the ingredients in a mixing bowl.
- To begin, combine all of the lovely cream ingredients in a high-powered blender. Blend until smooth.
- Spread excellent cream equally in a rectangular loaf pan or similar dish using a spatula. To help it freeze uniformly, keep the superb cream no thicker than 1 1/2 inches from the bottom of the pan to the top of the beautiful cream.
- Place for 1 hour in the freezer. Remove and serve, or take out 10 to 20 minutes before serving if it has been in the freezer for more than 3 hours.
To create the cones
- Melt chocolate in a microwave-safe dish in 15-second increments (typically twice). Dip the top of the cake cone into the chocolate, then roll in sprinkles or preferred topping. Place on a counter to harden. Rep with the remaining cones.
- Scoop lovely cream into cones and top with any residual sprinkles when ready to serve!
Notes
- To keep them entirely sugar-free, dip the cone top in yogurt before adding chosen toppings, such as crushed dried berries or chopped almonds. Freeze until the yogurt solidifies, then serve immediately after removing it from the freezer.
- The cones also work well as a delightful, crunchy topping stirred with the delicious cream!
- When serving leftovers that have been in the freezer for more than 3 hours, they will be exceedingly difficult to scrape out. Enable at least 10 to 20 minutes before serving to allow the excellent cream to soften on the counter.
- If you like a smooth, yogurt-like texture, place this in the fridge rather than the freezer!
- When kept in the freezer, nice cream is best used within 10 days.
- Leftovers that have been in the freezer for more than 3 hours may be exceedingly tricky to scoop out. Allow at least 10 to 20 minutes before serving for the lovely cream to soften on the counter.
- If you like a smooth, yogurt-like texture, place this in the refrigerator rather than the freezer!
- Nice cream should be consumed within 10 days if stored in the freezer and within 5 days if stored in the refrigerator.
Nutrition
Calories: 84kcal | Carbohydrates: 8g | Protein: 9g | Fat: 1g | Saturated Fat: 1g | Cholesterol: 4mg | Sodium: 171mg | Potassium: 72mg | Fiber: 1g | Sugar: 7g | Vitamin A: 40IU | Vitamin C: 14mg | Calcium: 71mg | Iron: 1mg
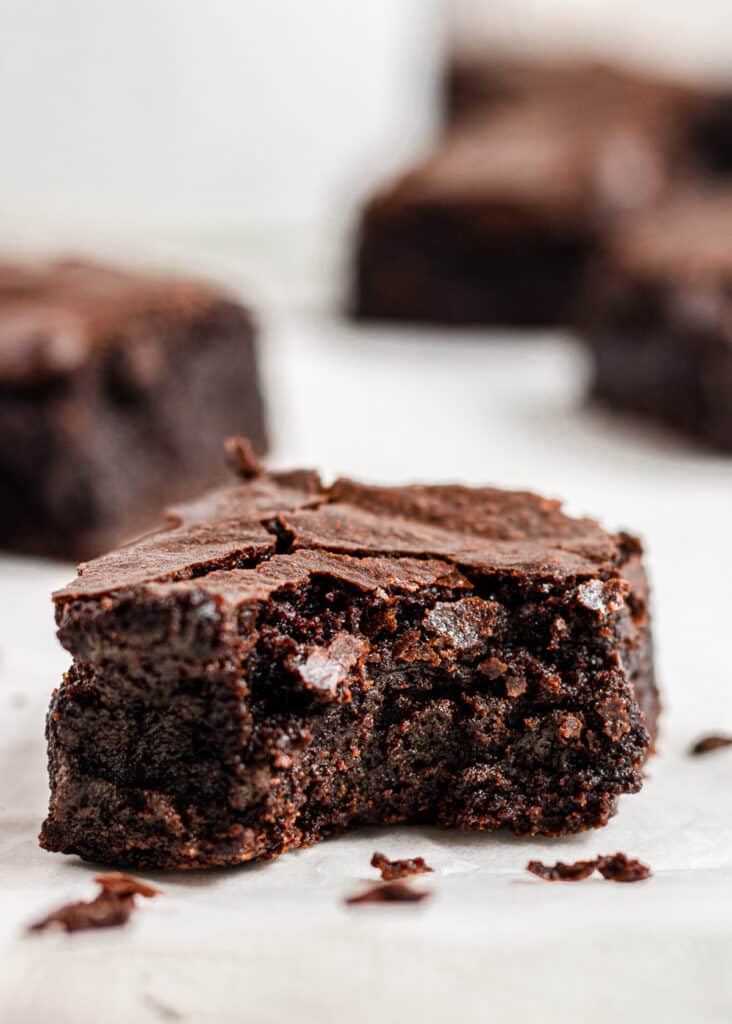
Chocolate Fudge Brownies (Gluten & Dairy Free)
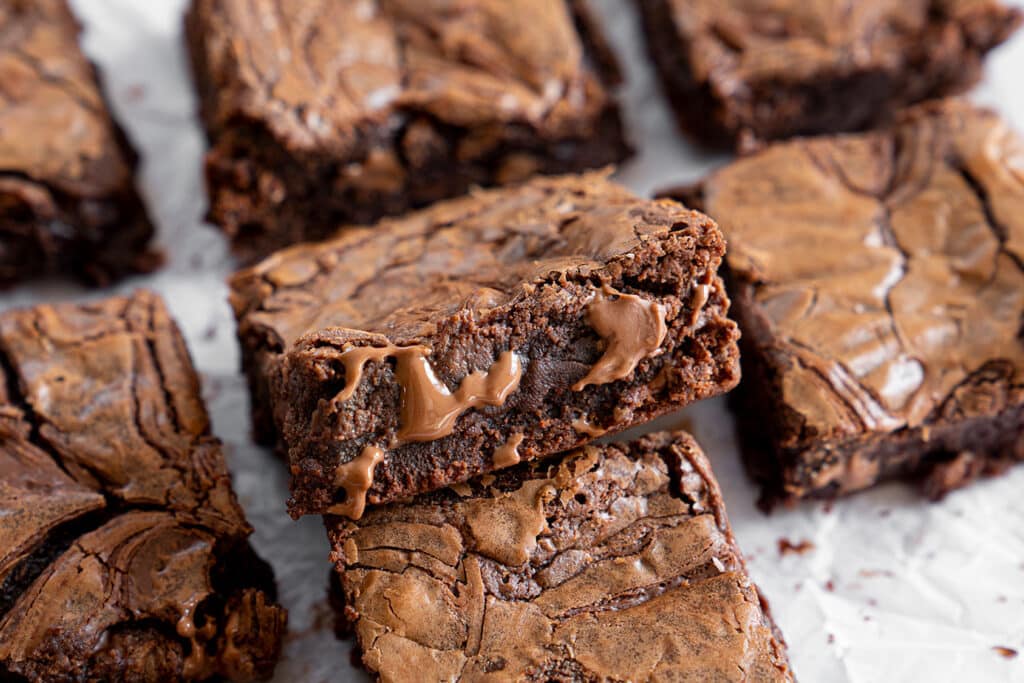
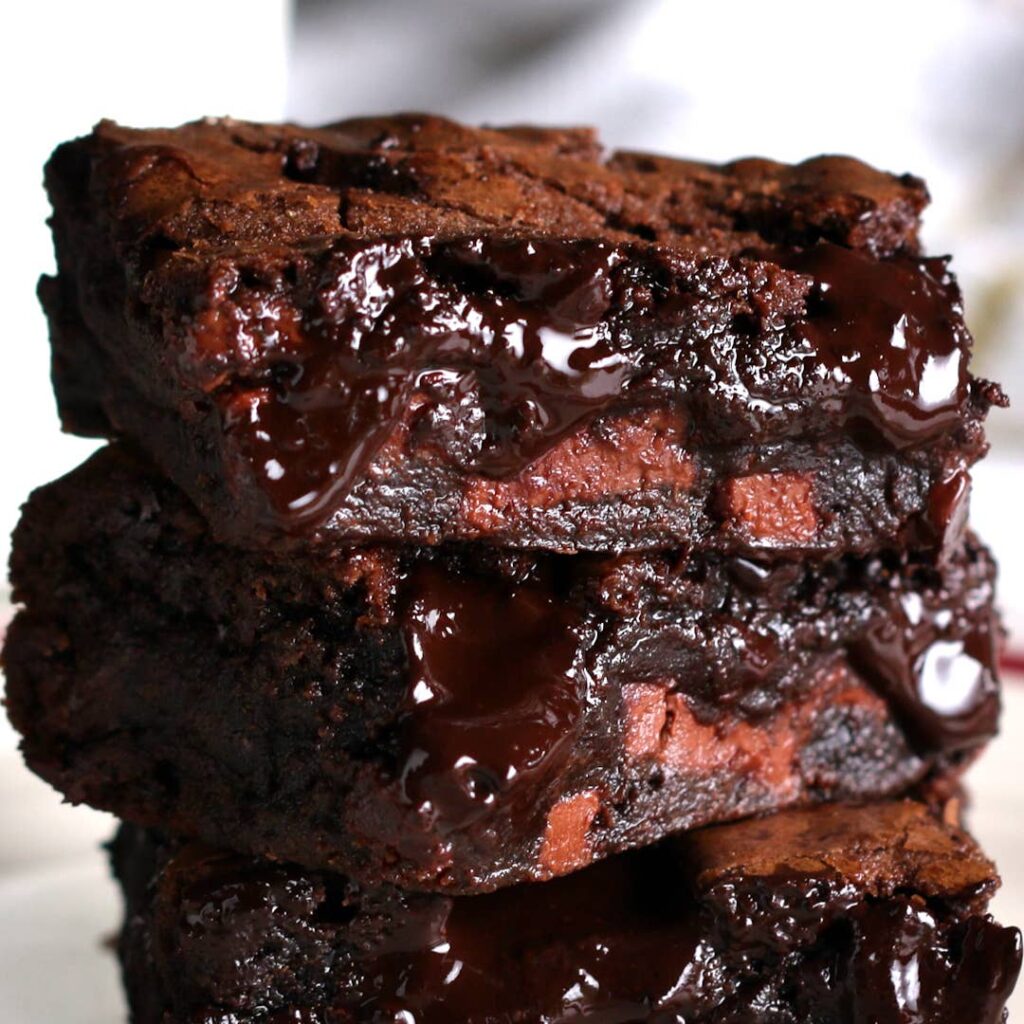
Chocolate was designed to be relished, and these fudgy chocolate brownies will be devoured to the last crumb! Consuming these squares of chocolatey deliciousness will become a highlight of your day, without any sugar crashes to follow.
These no-sugar-added chocolate fudge brownies are ideal for a Mother’s Day dinner, picnic treat, or a “just because” day when you want to indulge in some chocolatey bliss. A food processor, a scraper, and an 8-inch pan are the essential kitchen items required. That’s all!
We constantly use our food processor. Not only can it chop, grate, or shred vegetables in seconds (no more tears from Mr. Onion), but it can also prepare a range of sweet and savory dishes with only a few components.
INGREDIENTS
- 15 oz can black beans drained & rinsed
- 12 Medjool dates pitted
- ⅓ cup coconut oil melted
- ¼ cup oat flour
- ¼ cup cocoa powder
- 1 tsp vanilla extract
- ½ tsp baking powder
- ¼ tsp baking soda
- ¼ tsp kosher salt
INSTRUCTIONS
- Preheat the oven to 350°F. Place the dates in a microwave-safe dish, cover with 1 cup of water, and cook for 60 seconds. Drain the dates and place them in a food processor with the rest of the ingredients. Do 1 minute of blending. Blend for another 60 seconds after scraping down the edges. If necessary, repeat until the batter is smooth.
- Line an 8-inch baking dish with nonstick foil or parchment paper and coat with oil spray (I use a Misto). Pour the batter into the pan. If necessary, dip the scraper in a basin of water to press the batter into the corners without sticking to the scraper. Bake the brownies for 25-28 minutes, or until a toothpick inserted into the center comes out clean. Enjoy!
NOTES
- Although you may make these brownies without the oat flour (grain-free), I like the texture as stated.
- This recipe is gluten-free. However, if you have Celiac disease, make sure to use certified gluten-free oats to avoid cross-contamination.
Nutrition
Calories: 175; Total Fat: 6.6g (Saturated Fat: 6g); Sodium: 130mg; Potassium: 128mg; Carbohydrate: 27g; Fiber: 4g; Total Sugar: 15g (Added Sugar: 0g); Protein: 3g
Like What You Are Reading? Try Out Some Other Recipes.
Easy Homemade Cheesy Beef Quesadilla Recipe
Easy Homemade Beef Tacos Recipe
Super Simple Mongolian Beef Recipe
